

Howdy, Stranger!
It looks like you're new here. If you want to get involved, click one of these buttons!
Categories
- 241.8K All Categories
- 22 >> Start Here <<
- 12 New Members
- 8 FAQs
- 86.7K Gear
- 39.5K Guitar
- 3.4K Acoustics
- 1.3K Bass
- 14.6K Amps
- 17.2K FX
- 271 Digital & Modelling
- 765 Other Instruments
- 8.3K Making & Modding
- 421 Gear Reviews
- 107 Guitar Reviews
- 73 Amp Reviews
- 119 FX Reviews
- 87 Other Reviews
- 749 Made in the UK
- 975 Theory
- 1.9K Technique
- 2.1K Live
- 3.2K Studio & Recording
- 2.1K Making Music
- 219 Events
- 15 Guitar Show 2018
- 830 Plug My Stuff
- 105.2K Classifieds
- 41.1K Guitars £
- 2.8K Acoustics £
- 139 LH Guitars £
- 899 Basses £
- 10.6K Parts £
- 18.3K Amps £
- 34.1K FX £
- 2.8K Studio & Rec £
- 6.1K Misc £
- 465 Personnel
- 54.8K Chat
- 36.6K Off Topic
- 1.1K Tributes
- 6.6K Music
In this Discussion
Become a Subscriber!
Subscribe to our Patreon, and get image uploads with no ads on the site!
New pickups - soldering help!
 skullfunkerry
Frets: 4177
skullfunkerry
Frets: 4177
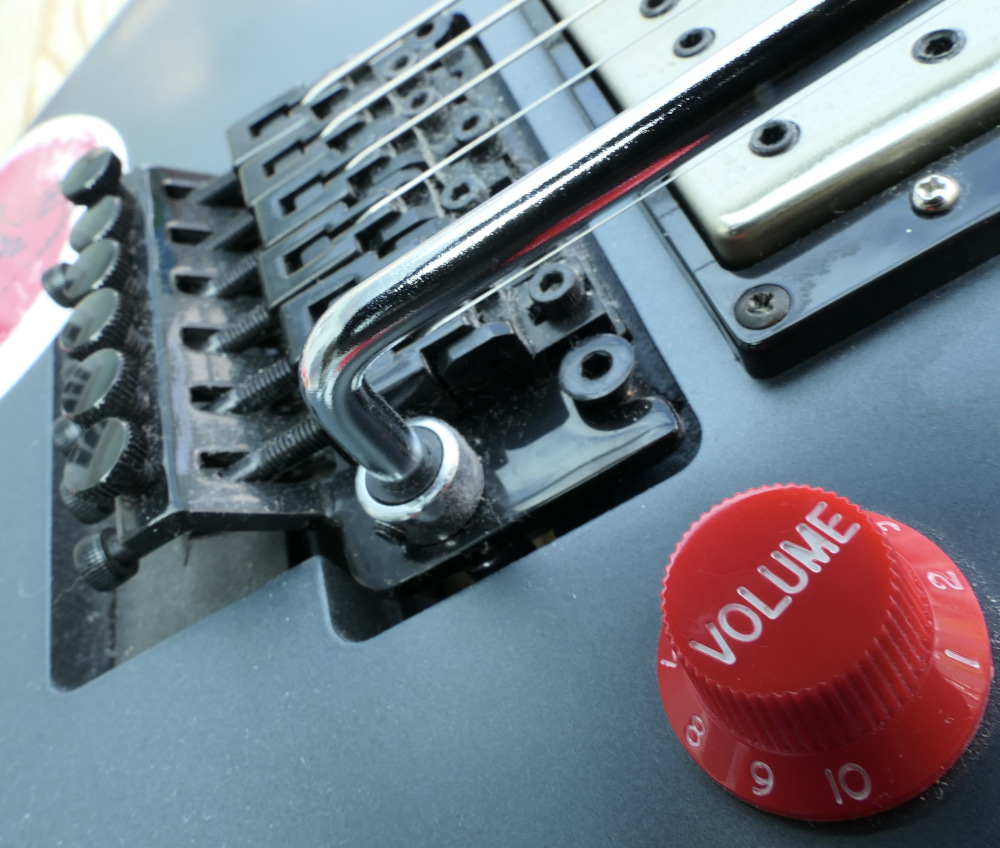
I've bought a couple of new pickups for my Charvel, and I thought I'd have a go at fitting them myself rather than pay someone £30 for what everyone says is a few minutes work. I figured worst case scenario is at least I'll have physically fitted them even if I have to pay someone to fix the wiring that I got wrong...
Here's the Seymour Duncan wiring diagram for what's fitted at the moment:
And here's the info that came with the new pickups:
Am I right in thinking that rather than rewiring everything from scratch I can just cut the pickup cable and connect the new one, leaving the pots, switch and jack alone? Also, the Seymour Duncan red wire is the green one on the new pickups, right?
Apologies if I'm being stupid... I've looked and looked at this and it just doesn't seem to sink in for some reason...
Too much gain... is just about enough \m/
I'm probably the only member of this forum mentioned by name in Whiskey in the Jar ")
0 LOL 0
LOL 0 Wow! 0
 Wisdom
LOL 0 Wow! 0 Wisdom Base theme by DesignModo & ported to Powered by Vanilla by Chris Ireland, modified by the "theFB" team.
Comments
1) Translating the pickup conductor colour codes.
2) Deciding which coils you want to be operational in split mode.
The Duncan diagram results in the two stud coils remaining operational. To get the same thing to happen with your new pickups, use black as the output, white/green as the series link, red/bare as ground.
Affirmative. (My preference is to desolder the original pickup conductors rather than cut anything.)
Mount the new pickups into the guitar.
On a Charvel with rear-mounted controls and no pickguard, thread the uncut output cables for the new pickups through to the control cavity. Only strip the insulation from the four-con + shield cable once the ends are protruding from the control cavity.
is it crazy how saying sentences backwards creates backwards sentences saying how crazy it is?
Be careful - it's quite easy to damage push-pulls with too much heat.
"Take these three items, some WD-40, a vise grip, and a roll of duct tape. Any man worth his salt can fix almost any problem with this stuff alone." - Walt Kowalski
"Only two things are infinite - the universe, and human stupidity. And I'm not sure about the universe." - Albert Einstein