

Howdy, Stranger!
It looks like you're new here. If you want to get involved, click one of these buttons!
Categories
- 242.8K All Categories
- 22 >> Start Here <<
- 12 New Members
- 8 FAQs
- 87K Gear
- 39.7K Guitar
- 3.4K Acoustics
- 1.3K Bass
- 14.7K Amps
- 17.3K FX
- 283 Digital & Modelling
- 766 Other Instruments
- 8.3K Making & Modding
- 422 Gear Reviews
- 107 Guitar Reviews
- 73 Amp Reviews
- 119 FX Reviews
- 87 Other Reviews
- 750 Made in the UK
- 976 Theory
- 1.9K Technique
- 2.1K Live
- 3.2K Studio & Recording
- 2.1K Making Music
- 223 Events
- 15 Guitar Show 2018
- 839 Plug My Stuff
- 105.7K Classifieds
- 41.3K Guitars £
- 2.8K Acoustics £
- 140 LH Guitars £
- 903 Basses £
- 10.6K Parts £
- 18.4K Amps £
- 34.2K FX £
- 2.8K Studio & Rec £
- 6.1K Misc £
- 465 Personnel
- 55K Chat
- 36.7K Off Topic
- 1.1K Tributes
- 6.6K Music
In this Discussion
Become a Subscriber!
Subscribe to our Patreon, and get image uploads with no ads on the site!
Hofner Verythin John Squire Pollock homage conversion
 the_jaffa
Frets: 1813
the_jaffa
Frets: 1813
I’ve had a bit of a project in mind for a while and today was the first of the biggest steps.
For reference, the plan is to make this:
Look like this:

So, here's the sketchy routing jig:


And here's the end result:


I’m pretty chuffed as to how it has come out. It's all worked out remarkably well, the plate fits perfectly with hardly any gap and the hole is very nice and neat. I now need to create a ledge to glue to the inside of the hole for the plate to sit on and be screwed down to and the job'll be a good'un.
I'll continue this thread with further info soon. Think like the bridge change and then the painting too.
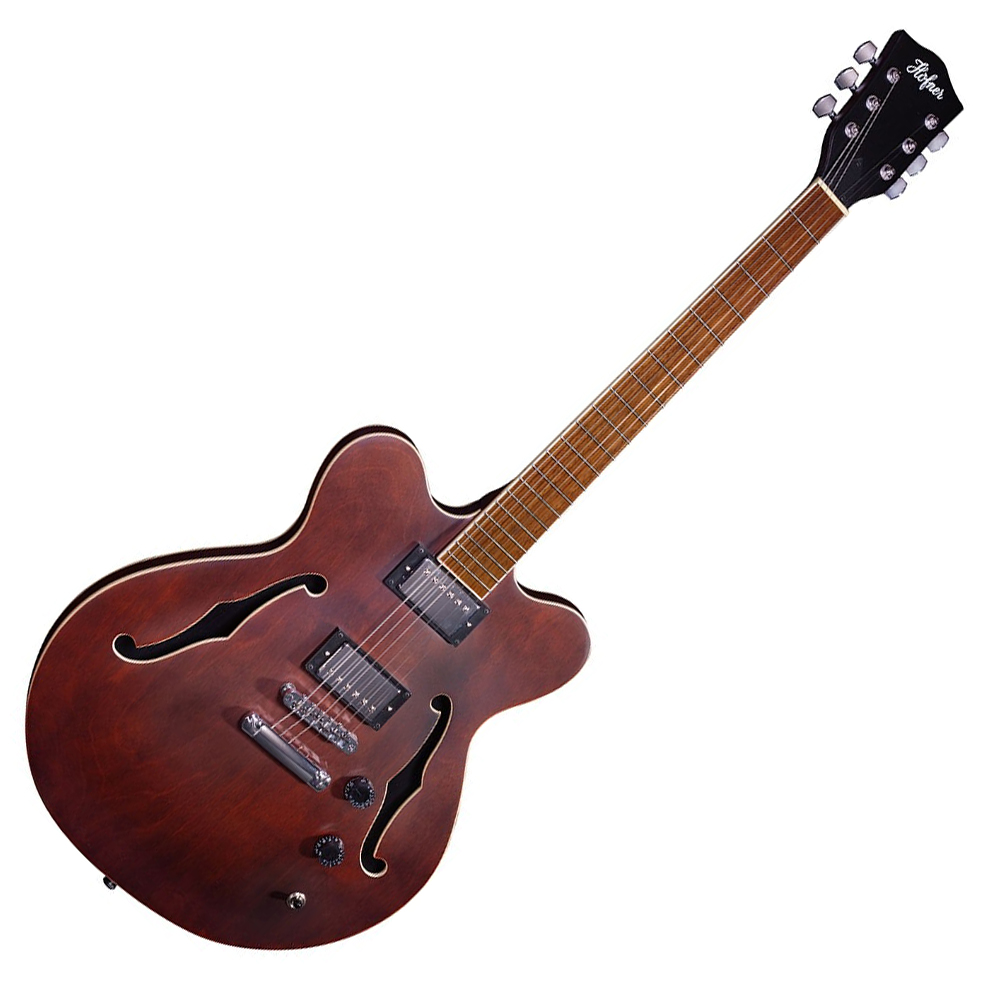
I recently bought one of the Hofner UK Special Verithins with a plan to convert it into a replica of (yet another) John Squire guitar (I already have replicas of three of his iconic guitars and this will be number 4 of 4). During most of the 80s he played a Hofner T4ST that had a splattered Jackson Pollock style paint job. These days it seems that T4s are like rocking horse shit (they only made them for a year or two around 1979) and pretty expensive so the cheap Verithin seemed a good substitute to start with.
The main aesthetic differences are the bridge, the pickups being uncovered and the inlays on the neck. The pickups were easily dealt with and a pack of stickers from the States has allowed for some faux inlays that look ok but the bridge is a bigger issue.
Details of the bridge work will follow but today was all about cutting a hole in the back. As I’ve had to remove all the electronics prior to painting (and having changed electronics on a semi before) I decided to bite the bullet and create a control cavity in the rear to make refitting their controls way easier. As I’ll be painting the guitar anyway I thought it worth a shot. I know some of you will think I am mad but hey, nothing ventured, nothing gained.
Details of the bridge work will follow but today was all about cutting a hole in the back. As I’ve had to remove all the electronics prior to painting (and having changed electronics on a semi before) I decided to bite the bullet and create a control cavity in the rear to make refitting their controls way easier. As I’ll be painting the guitar anyway I thought it worth a shot. I know some of you will think I am mad but hey, nothing ventured, nothing gained.
So, with the help of @SteveRobinson who very kindly sent me a Les Paul shape cover I set about it. Using the cover I created a couple of mdf templates before rigging up the most shockingly awful, but just about adequate, routing rig ever. The guitar was sat on an old coat on top of my wheelie bin and the template held on with a mix of bench cookies, gaffer tape and wooden blocks acting as fences I set to it with the router.
For reference, the plan is to make this:
Look like this:
So, here's the sketchy routing jig:
And here's the end result:
I’m pretty chuffed as to how it has come out. It's all worked out remarkably well, the plate fits perfectly with hardly any gap and the hole is very nice and neat. I now need to create a ledge to glue to the inside of the hole for the plate to sit on and be screwed down to and the job'll be a good'un.
I'll continue this thread with further info soon. Think like the bridge change and then the painting too.
0 LOL 5
LOL 5 Wow! 0
 Wisdom
LOL 5 Wow! 0 Wisdom Base theme by DesignModo & ported to Powered by Vanilla by Chris Ireland, modified by the "theFB" team.
Comments
Nice tidy job
http://www.thefretboard.co.uk/discussion/61134/sarge/p1
As the original T4ST had a one piece bridge and tailpiece I have removed the existing ones and their posts/inserts and used an offset of alder that I had from my previous build I cut some plugs. I cut the plugs slightly wide and a fair bit too long then fitted them into my pillar drill to use as a lathe so I could sand them to get a good tight fit but keep them round. Glued and fitted the plugs on Saturday and then trimmed them flush yesterday. I now need to work out the correct position for the new bridge and hopefully should have some TonePros bridge posts coming relatively soon from @FelineGuitars ;
Here's a pic of the plugged holes:
The next job over the weekend was to create some supports for the rear control cover. I wasn't sure how I'd do this but after some experimentation I found the best bet for me was to use some ply that I had in the garage. I doubled up the edge to take up the difference in depth between the body ply and the cover and then shaped and glued the blocks into the hole. I'm yet to work out how to create a support for the screw hole nearest the centre block but I'll have a think and see what I can come up with.
The main thing with the supports for me was to try to keep them relatively small so they didn't end up filling the hole. I think they've gone ok. I'm slightly frustrated that the cover doesn't fit as well as I had hoped and has quite a gap around it in places. I guess my ghetto routing jig may have shifted slightly. It's not the end of the world but not as nice as I wanted.
Pics here:
Once I have the new bridge posts and have established their position I'll drill them. That and the centre block cover support and the butchery is finished. Then is needs a jolly good sand and I can look at painting it which will be a whole new ball game for me.
Many guitars have a re-sale value. Some you'll never want to sell.
Stockist of: Earvana & Graphtech nuts, Faber Tonepros & Gotoh hardware, Fatcat bridges. Highwood Saddles.
Pickups from BKP, Oil City & Monty's pickups.
Expert guitar repairs and upgrades - fretwork our speciality! www.felineguitars.com. Facebook too!
Cheers for sorting the bridge bits for me.
...the bridge wouldn’t fit. I had drilled one of the holes off-square and canted inwards. And, as it seems both holes were canted back too far too. Made a proper arse of it. Seems that with the back of the guitar being curved, however hard I tried to drill it square it didn’t work. So, I think I need to look at a better method but at the moment I’ve no idea what.
Not a great day of guitar tinkering today.
Yesterday, I went over to my mate’s workshop and borrowed his bigger pillar drill and drilled the holes perfectly this time. Just mounted up the bridge and a set of strings to check the fit, tuning and intonation and it all seems to work which is a big relief. Going to let it settle in for a bit as it has not had strings in for a while now. I’ll then check everything later on.