

Howdy, Stranger!
It looks like you're new here. If you want to get involved, click one of these buttons!
Categories
- 243.2K All Categories
- 22 >> Start Here <<
- 12 New Members
- 8 FAQs
- 87.2K Gear
- 39.7K Guitar
- 3.4K Acoustics
- 1.3K Bass
- 14.7K Amps
- 17.3K FX
- 292 Digital & Modelling
- 767 Other Instruments
- 8.3K Making & Modding
- 423 Gear Reviews
- 107 Guitar Reviews
- 74 Amp Reviews
- 119 FX Reviews
- 87 Other Reviews
- 750 Made in the UK
- 977 Theory
- 1.9K Technique
- 2.1K Live
- 3.2K Studio & Recording
- 2.1K Making Music
- 225 Events
- 15 Guitar Show 2018
- 841 Plug My Stuff
- 105.9K Classifieds
- 41.4K Guitars £
- 2.8K Acoustics £
- 141 LH Guitars £
- 903 Basses £
- 10.6K Parts £
- 18.4K Amps £
- 34.3K FX £
- 2.8K Studio & Rec £
- 6.1K Misc £
- 466 Personnel
- 55.1K Chat
- 36.8K Off Topic
- 1.1K Tributes
- 6.6K Music
In this Discussion
Become a Subscriber!
Subscribe to our Patreon, and get image uploads with no ads on the site!
Next Project ... opinions? ... & updates!
Base theme by DesignModo & ported to Powered by Vanilla by Chris Ireland, modified by the "theFB" team.
Comments
Had some workshop time today. Back to work tomorrow so likely to be the last bit of workshop time for a while ...
1. Wrap the neck up *before* damaging it!
2. Got the cap thicknessed, jointed and glued-up. Birds eye maple.
3. Quick template to guide the chambering. Yes, I decided to hollow out the body.
4. Use the drill press to get rid of most of the wood.
5. Then tidy it up with the router. OK, so no-one's going to see it, but still!
6. Now I can start to take the 7mm off the top ...
7. This is the router bit I use for the thicknessing. It's a beast.
8. Job just about done - nice crisp edges now - and the neck is still intact too (I cheated, and used a very small bearing guided cutter to do the area around the neck. The bearing ran against the binding on the fretboard so it was safe.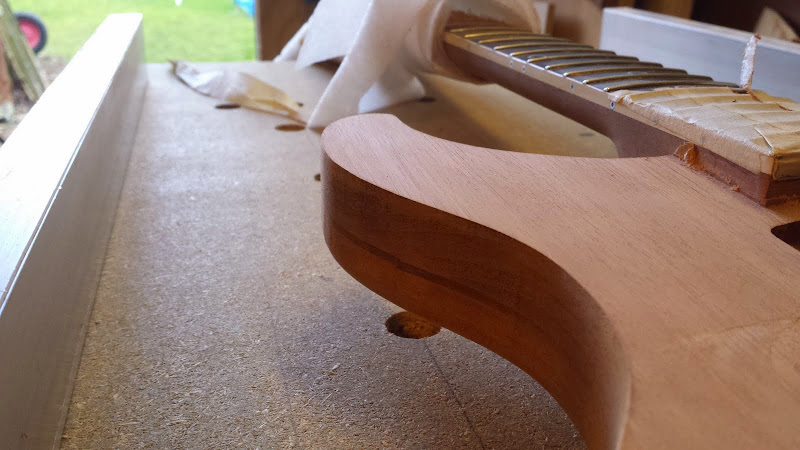
9.. Tiny bit of tidying to do, but just about there.
Next, I've got to cut out the slot in the cap for the neck/fretboard, and then glue that on. I might do some prep work on the "wedge" shaping of the cap *before* I glue it in place - just be easier to work on it without the neck getting in the way.
I did make rather a lot of sawdust.
Feedback
Looks good so far. Make sure to cut the neck slot in the top before you cut the top to the outline
Instagram
My thinking is ...
Instagram
Instagram
Instagram
Actually, if I'd thought of that *before* I jointed and glued it, that might have been a neat solution.
Instagram